
Garlic (Allium sativum) is a member of the allium family, which includes leeks, shallots, and onions. Typically planted in late September and early October, garlic is well suited to planting in the fall and will produce a good crop come late spring into summer. Like other spring flowering bulbs, garlic planted now will set roots and start to grow. As the soil temperature cools down, growth stops. When soil temperatures increase in the spring, the bulb will resume its growth cycle.

Garlic needs six to eight weeks of cold temperatures (below 40° F) to develop properly. This process is called vernalization, whereby the cold soil temperatures stress the seed, encouraging it to divide into separate cloves, start growing roots and go dormant. To achieve this, garlic needs to be planted before the end of October.
Garlic has 11 distinct horticultural groups. Softneck garlic is classified into three groups: Artichoke, Middle Eastern and Silverskin. Hardneck garlic has eight groups: Asiatic, Creole, Glazed Purple Stripe, Marble Purple Stripe, Porcelain, Purple Stripe, Rocambole and Turban. Each group contains a variety of cultivars, each with its own unique characteristics and tastes, much like different varieties of tomatoes. The diversity of groups gives us the opportunity to grow many varieties.

Which brings us to the two major groups: soft neck and hardneck. Softneck garlic is the kind you will generally find in the grocery store. It’s the primary choice for commercial growers. Softneck garlic has a flexible stalk which can be braided. California White is a softneck garlic with a robust flavor.

Hardneck garlic also has a stalk –called a scape- which coils at the top. If left to mature, hardneck garlic will produce a flower which is several small bulbils, or tiny bulbs, which are edible. Hardnecks dry to a hard stem, hence the name. As a group, they have a deep rich flavor such as Spanish Roja.

Which every you choose to grow, it’s important to select high quality seed garlic. Garlic bought in grocery stores is often treated with sprout inhibitors, disrupting the growth cycle.
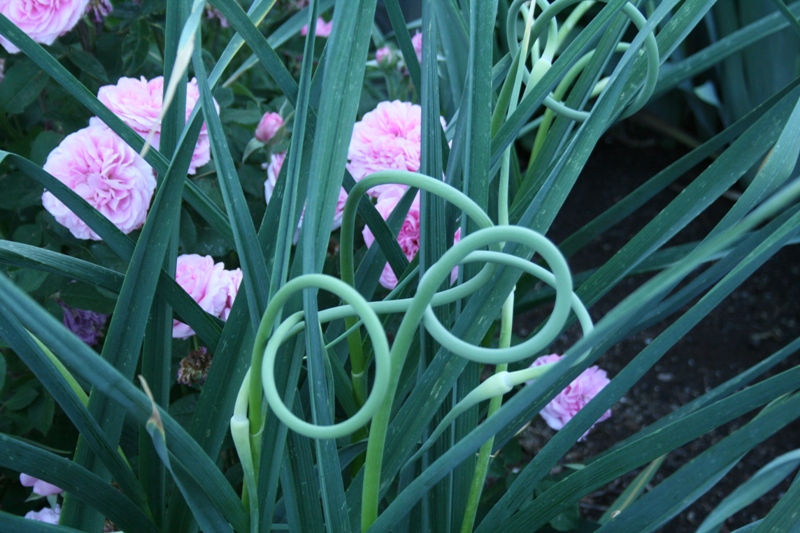
While garlic can be planted in traditional ground beds or in raised beds, any open space can be utilized. This includes open, sunny areas around perennials and roses.

Garlic needs full sun to optimize growth, so choose a site that will receive at least 6 hours of direct sun.

Garlic does best when planted in well-drained soils, so plan to add an organic soil amendment such as locally produced Earth Essentials Sheep, Peat, and Compost into your planting site. This is an important step to take whether this is a new bed or one you have grown in before.

Once the soil has been amended incorporate some Bone Meal or organic Seabird Guano Phosphate into your garlic bed. This will facilitate root development.

With your site selected and prepared, you’re ready to plant. Start by breaking the bulb into individual cloves. This is referred to as “cracking” the bulb. Plant each clove 3” to 4” deep, pointy end up and spaced 6” apart.
Like other spring flowering bulbs, garlic planted now will set roots and start to grow. As the soil temperature cools down, growth stops. When soil temperatures increase in the spring, the bulb will resume its growth cycle.

Garlic should be mulched in early winter, after the ground freezes. The mulch will hold in moisture and keep the ground stable. Mountain Magic Soil Pep is a good choice for mulch as it can be worked into the ground after harvest.

Come spring when new shoots are about 3” high, top dress each garlic with Blood Meal. This will provide the Nitrogen garlic needs to grow. Softneck garlic planted now will usually be ready for harvest around July 4th. Dig softnecks when the leaves turn brown. Hardneck garlic will mature a little later in the season. They’re ready to harvest when the scapes straighten out.


